
By Rebecca Burns, Expeditionary Programs Manager
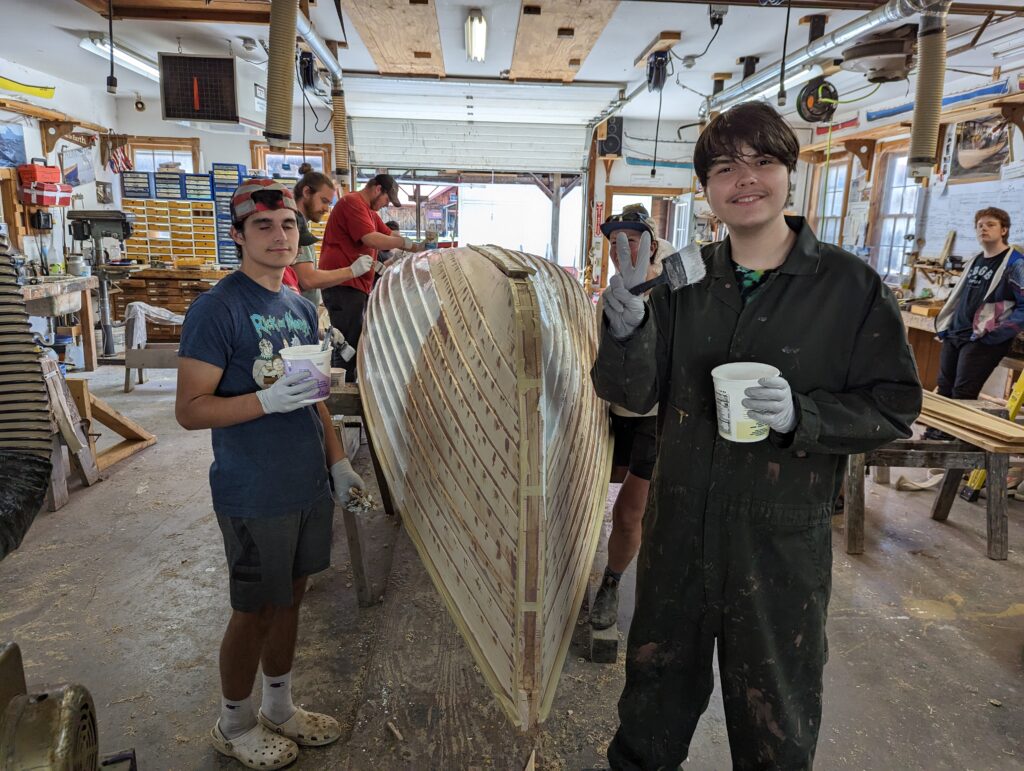
Since the beginning of the school year, two groups of students from the Addison Consortium Program (ACP) and Middlebury Union High School (MUHS) have been coming to Lake Champlain Maritime Museum 2–3 days per week to participate in our boat building program known as Champlain Longboats. The boat is almost done and will be launched this week! Before we launch, we wanted to take a moment to share a little bit more about this journey and a bit about the boat building process from the students themselves.
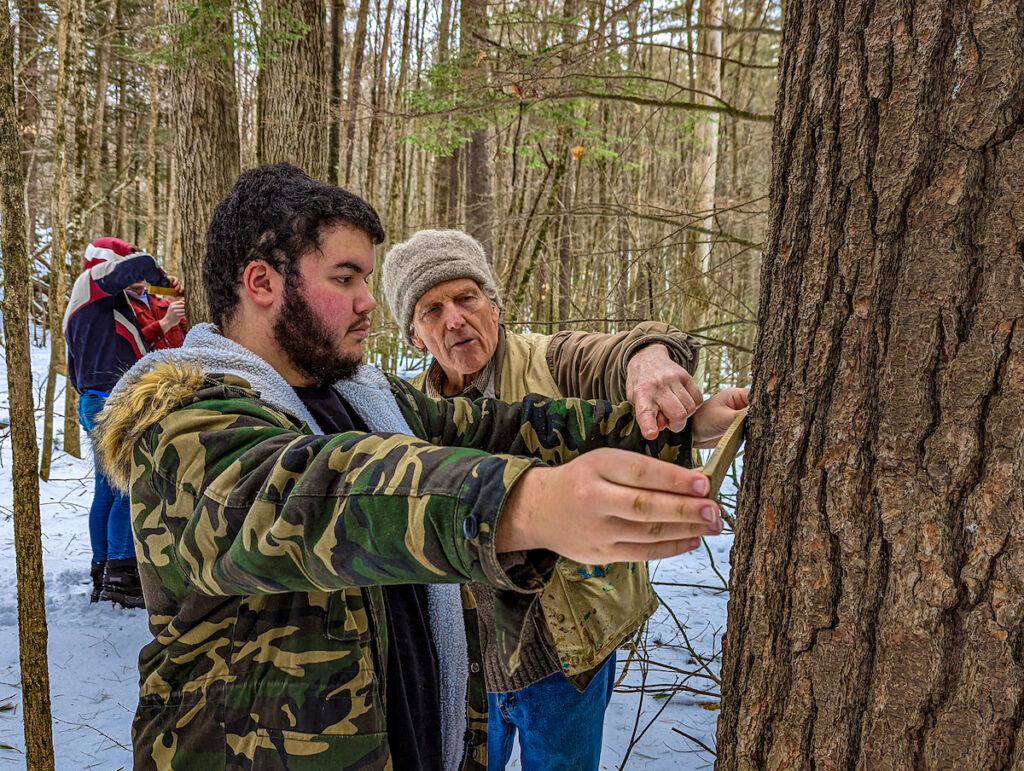
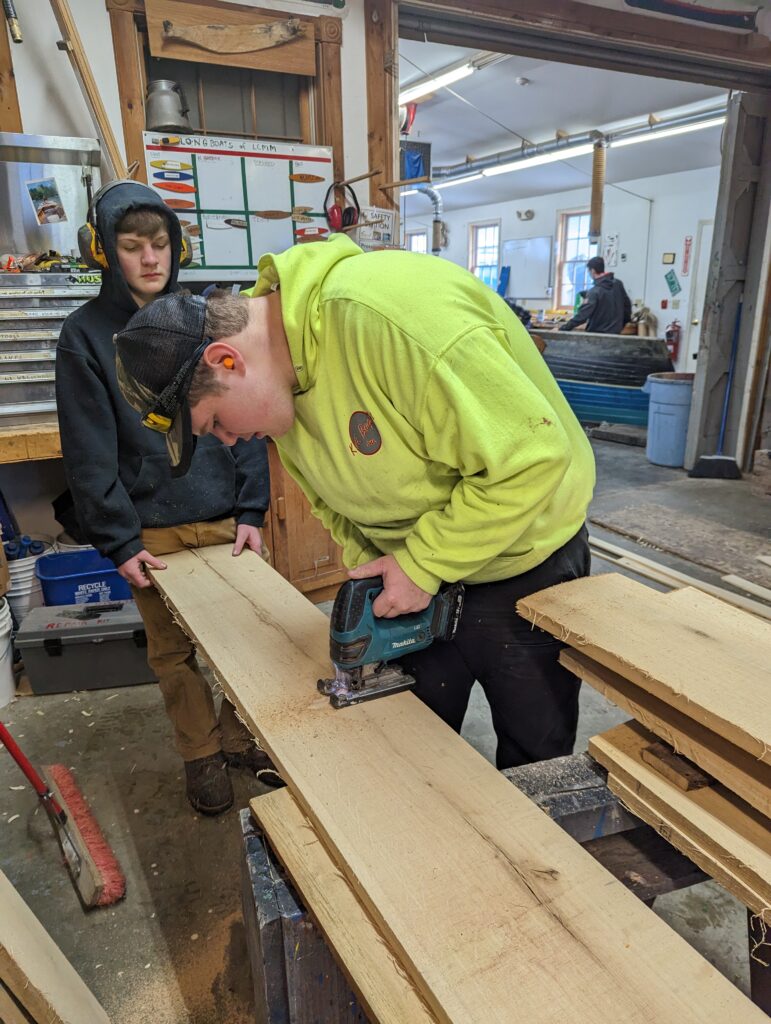
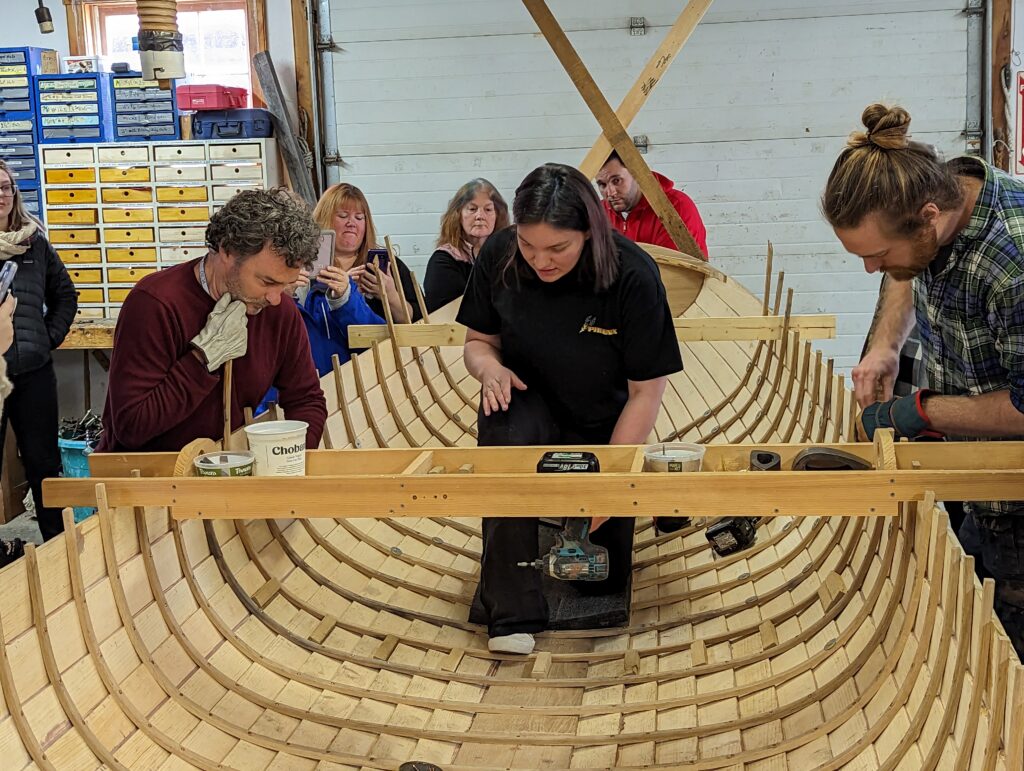
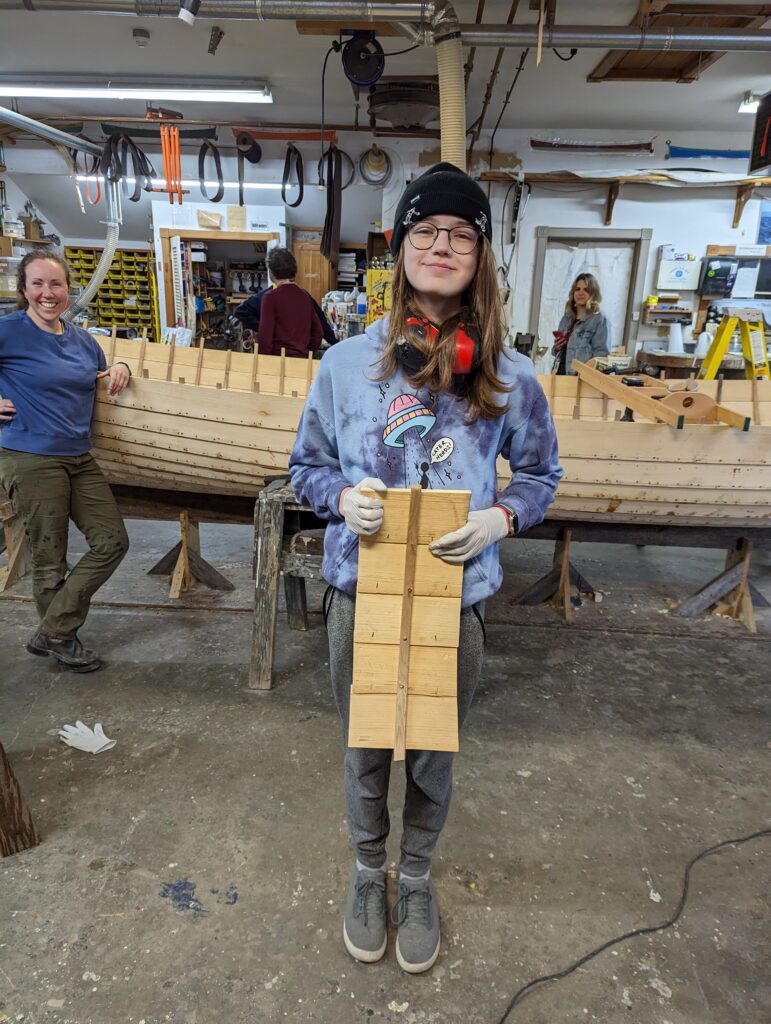
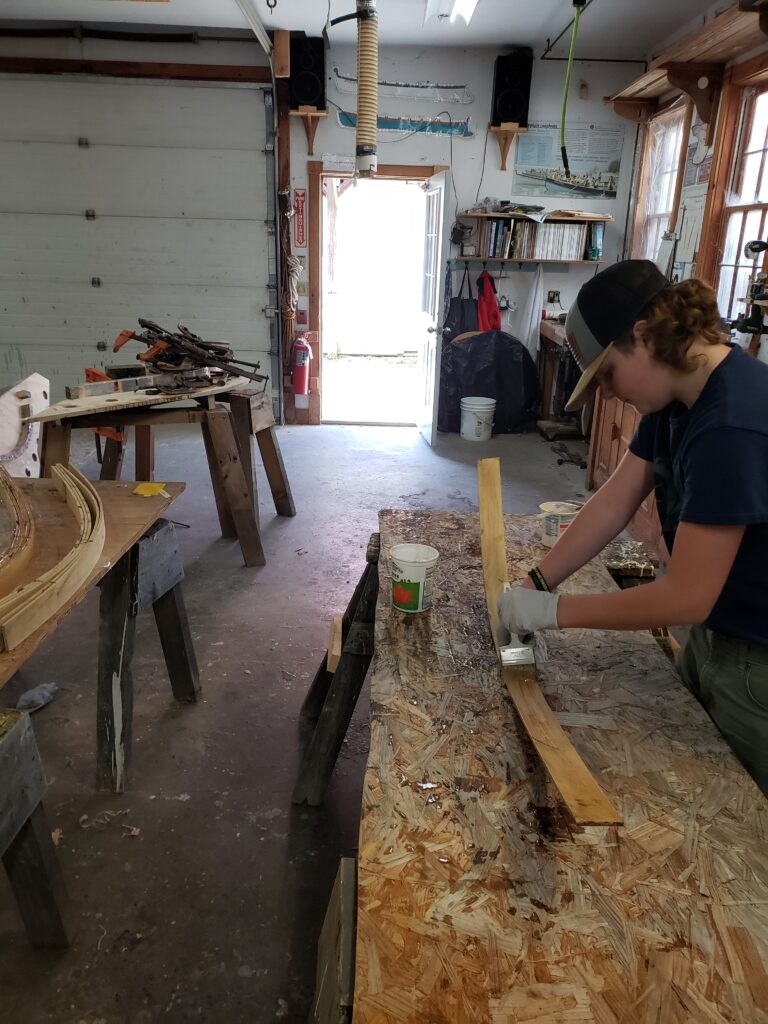
Champlain Longboats began in 1999 when a group of students in an alternative education program at Vergennes Union High School built a six-oared rowing gig, the first of the Museum’s fleet, Spirit of Otter Creek. Since then, the Museum has built a new rowing boat every year with a group of students. The core of this program is to give students a chance to experience every step of the boatbuilding process from tree to boat. Students go to local forests where the trees are harvested and we even bring the milling to the Museum so all can witness the process. Students measure each piece of the boat and learn traditional boatbuilding methods such as clench nailing and riveting. During this process, they become the experts and we want to give them the opportunity to demonstrate their new skills.
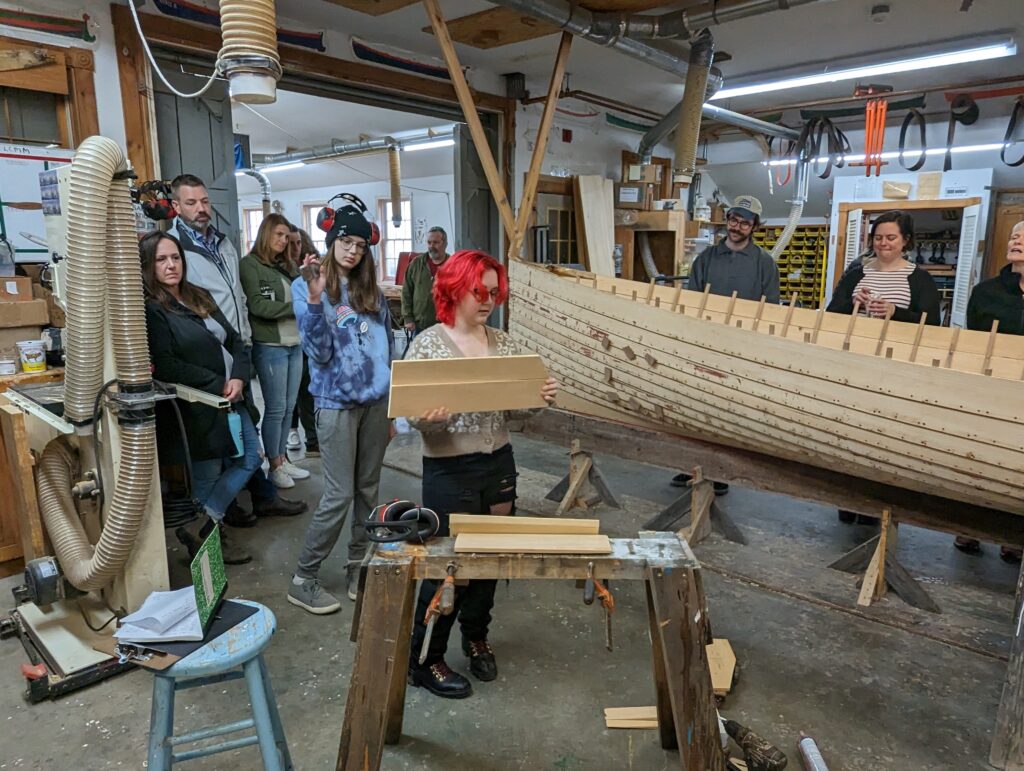
This spring, the boat building students, their families, teachers, and staff from the Museum gathered for an open house so students could share what they’ve learned over the course of this project. Each student chose their own topic and stage of boat building to explain. Below is a glimpse into their presentations, in their own words:
“The sides are the planks, which we’ve already put on. Inside are the ribs and we’re also going to put in seats – the passenger, coxswain, and other seats for students to use to row. Along the sides, we’ll put on gunwales. We’ve got a couple more ribs to go before they’re done though.”
Stephen, Middlebury Union High School
Stephen from MUHS began the presentations with an explanation of the different parts of the boat. This included the keel and planks which give the boat its shape, as well as the ribs and gunwales, which give the boat strength and structure.
Heath from MUHS demonstrated how to row and be a coxswain, the person who steers and commands the crew of rowers. Since the weather at the time of the presentation was not ideal for rowing on the water, Heath adapted and commanded his crew through some air strokes in the boat shop.
“You use white oak for ribs and the keel because, number one, it’s rot-resistant, it’s a bit heavy, and it’s strong. You use a white pine for the plank which gives the boat its form. You use that because it’s easy to work with and when it’s steamed it’s easy to bend without breaking. And then you use black locust for the transom and the stem. We use black locust because it’s strong and heavy – it’s good as a foundation for the boat – something to build off of.”
Logan, Middlebury Union High School
Logan from MUHS described the different types of wood used in the building of the new four-oared rowing gig. The planks are made from white pine. The gunwales, ribs, and keel are made from white oak. And the stem and transom which give strength and structure to the bow and stern of the boat are made of black locust. All three types of wood used are strong, resistant to rot, and are locally sourced. In boat building, we need to be picky about the quality of wood used in the boats to ensure they can hold up in the water for many generations.
“For gains, we have two pieces of wood and we have a rabbet plane to take a certain amount off the edge of the wood so they sit flat, flush on their ends. This is so that at the stern it has a fair curve – nothing has to be filled in. We’ll do the same on the bow.”
Carter, Middlebury Union High School
Carter from MUHS and Chance from ACP explained the process of creating scarf joints and gains in each plank. A scarf joint is used to connect shorter planks into one long plank. To make a scarf joint, the last six inches of the plank are measured and then shaved down on a gradual slope using a block plane. This increases the surface area of the space being glued by the scarf joint to increase strength. A gain is used to ensure the planks are flush with the stem and transom.
“There are a few reasons we use copper nails. They don’t rust the same way as iron nails – iron nails’ rust can actually rot away the wood. Copper nails are a lot more flexible so we can properly clench nail them. We’re basically creating a staple, so that both sides are tight against the wood.”
Chance, Addison Consortium Program
Chance from ACP and Landon from MUHS demonstrated the process of attaching a plank to the boat and fixing it in place using a technique called clench nailing. A sticky marine adhesive called 5200 is spread along the lap, the top 3/4 inch of the lower plank. The new plank is set in place using bar clamps and lap clamps. Then the clench nailing begins! Holes are drilled three inches apart along the lower lap line to ensure the copper tack passes through both planks. The students work in teams of two where one student hammers the tack into the planks and the other uses a clenching iron to fold the tip of the tack back into the plank, creating something that resembles a staple. There are over 2,000 clench nails in the gig that is being built. A highlight of Chance’s presentation was being able to practice clench nailing with his mom.
“Ribs are the rib cage of the boat made from white oak. We steam them at 180-200 degrees, we steam the ribs for 30-40 minutes which makes them easier to bend and install. We only have 1-2 minutes to install the ribs before they cool down.”
Tenley, Addison Consortium Program
“I have to communicate with my team to make sure everyone is ready and everything is safe so that nothing is broken and no one gets burned.”
Zoey, Addison Consortium Program
The next presenters, Ayden and Eric from MUHS and Zoey and Tenley from ACP, demonstrated steam bending ribs into the boat. Ribs run perpendicular to the planks and provide strength to the boat. The ribs are heated in a steam box between 185 and 200 degrees Fahrenheit for about 30 minutes. The boatbuilders have about one minute from the time the rib is removed from the box to bend it in place in the boat before it starts to cool. Each rib is temporarily fixed to the boat using screws so the rib will hold its shape as it cools.
“To start with riveting, we have to go back to the nexus of human civilization: the Nile River. The ancient Egyptians invented riveting. They did it pretty much the same way as us … including the power tools. They used riveting to affix handles to clay pots. It wasn’t until the 9th century AD that they were used in boats by the Vikings. I love Vikings, but today we are not attaching rivets to a war boat. This is boat is for kids to have fun in. Of course riveting is very similar to clench nailing but this time we have a different set of tools.”
Callie, Addison Consortium Program
The final presentations by Keagan from MUHS and Callie from ACP exhibited riveting, which holds the ribs to the planking. The students work in teams of three with one person inside the boat, one person on the outside of the boat, and the third person communicates between the two since it can get very loud. For each rivet, the person inside the boat drills a hole through the rib and the lap of two planks. The person outside the boat puts a copper nail into the hole. The person inside the boat sets a rove, a small copper washer; then pulls the nail until it is flush with the outer plank. The end of the nail is snipped off, so a small portion is left. Then the person on the outside of the boat holds a clenching iron over the head of the nail while the person inside the boat hammers the nail so it flattens over the rove. There are just about 1,300 rivets in the new gig, as Keagan noted.
“How many rivets are there in the boat? One thousand, three hundred, and twenty.”
Keagan, Middlebury Union High School
Gaining technical skills in boat building is only a small part of the Champlain Longboats program. Each group of students must come together as a team to accomplish the lofty goal of building a boat. Every aspect of boat building requires teamwork and communication skills. When these students aren’t hammering away at clench nails and rivets in the boat shop, they are on the water learning to row together. Over the last few months, it has been heartening to see each group of students grow into a supportive team. Launch day is scheduled for May 25, where the students get to celebrate their massive accomplishment with friends, family, and the community. We can’t wait to see the finished boat!
This is one of the most interesting projects that I have seen in a long time! Fantastic craftsmanship from talented mentors has given the students a basis for continuing to build on the skills learned here. What a beautiful boat! Cheers, Stuart